Showing posts with label braids. Show all posts

Sunday, November 28, 2010

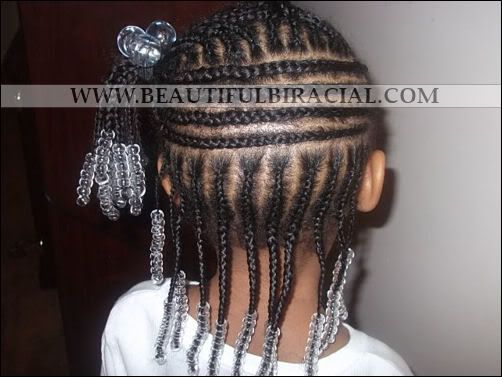
Throwback Hairstyle!

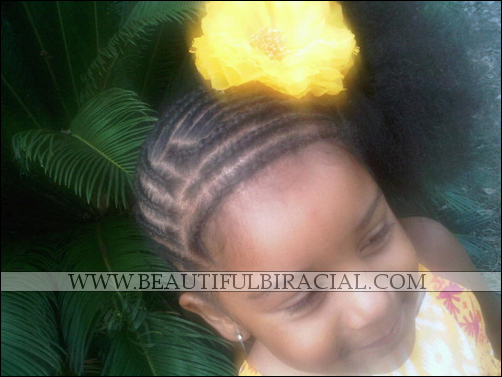
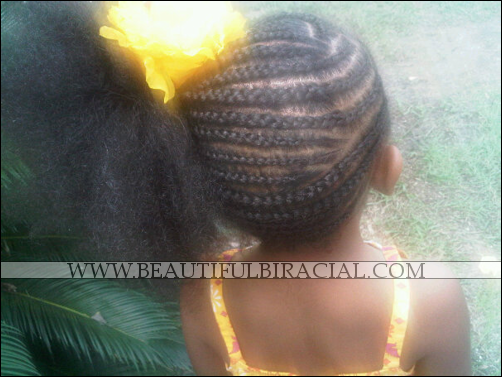
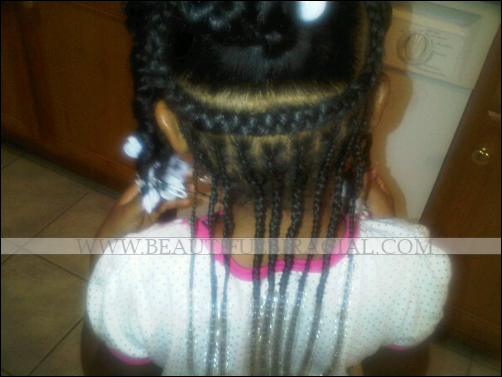
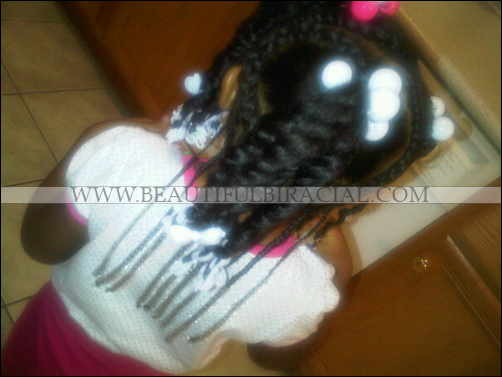
Judging by the polls, you guys want to see more braid designed hairstyles. I just wanted to share with you the very first hairstyle I did when I took an interest in my child's hair. It's a braid, beads, and ponytail and three strand twist design but I just wanna to show you guys the back of it because I really don't care too much for the front! Hope you guys like it!!


Friday, November 19, 2010

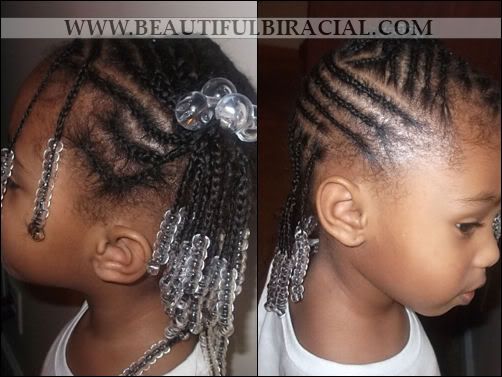
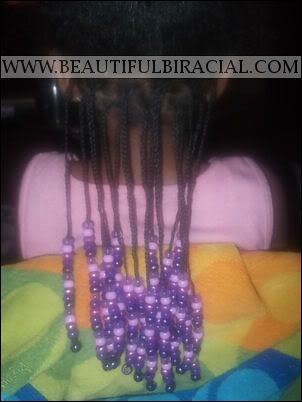
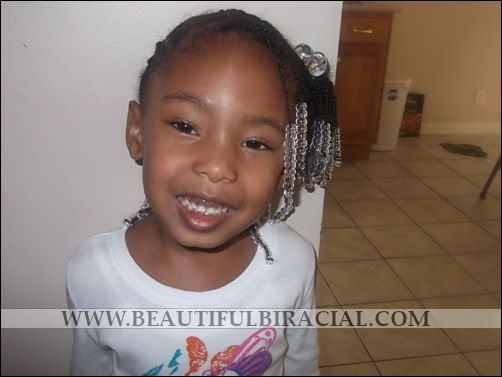
Client #23925 (JK!) Braid Designs With Beads

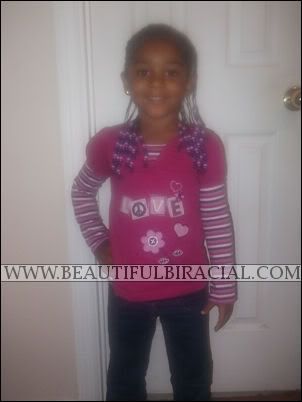
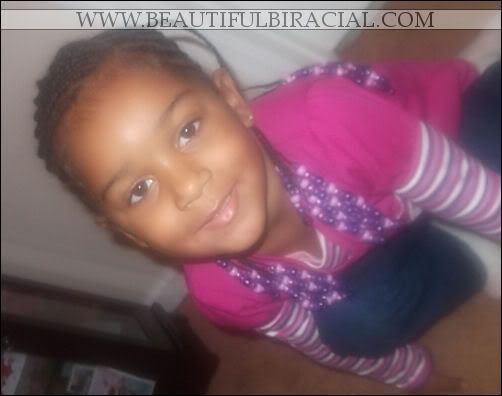
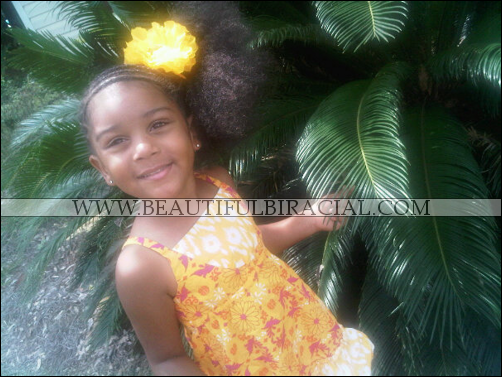
Everyone meet 'Miss D.'! I braided her hair into an intricate design. I won't be able to show you guys how I did it, because I do not do that with clients. (Time management.) Her and her mom was very pleased with the outcome though.


Saturday, November 6, 2010

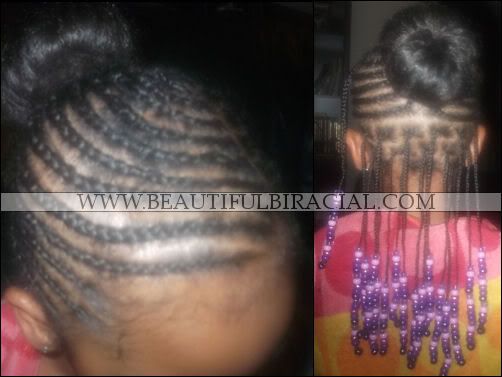
Beads, Braids, & Bun 2

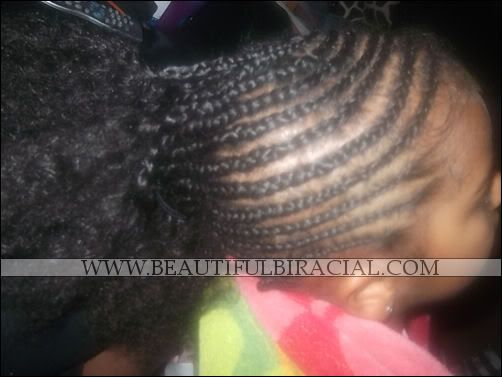
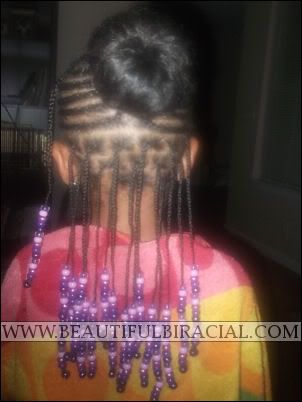
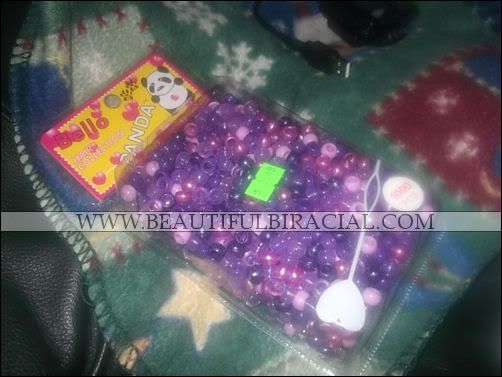
This is my daughter's newest hairstyle! Beads, braids, and a bun!!!. I did an almost similar hairstyle before (click here), but this time I decided to do things a little differently and have her whole head braided. This hairstyle took a whopping total of 5 1/2 hours to do! Don't forget, we do have to consider the length of her hair. We went to the hairstore earlier yesterday and she picked out these different shades of purple beads! One thousands beads for $3.49! Not bad, right?

I used water, BB Oil Moisturizer (for shine), Kids Organic Gro Strong Triple Action Stimulating Therapy (to reduce frizziness), Herbal Essences Hello Hydration conditioner (for softness), and Soft & Beautiful Just For Me! 2-in-1 Conditioning Detangler (to help detangle, of course). As always, I pour BB Oil Moisturizer and HEHH Conditioner on a napkin and mix it together.

STEP ONE: I parted the back from ear to ear. I detangled it and combed through it! Don't mind that spare braid, I had another hairstyle in mind before I got to the end results.

STEP TWO: I parted three rows and individually braided her hair in strands. I then applied the multicolored purple beads, putting 15 on each braid strand. The end result of that looked like this!

STEP THREE: I made a small part at the top of her head and a short part at the back of her head so I can have a start and stopping point. This was my first time doing this, so I wasn't really sure how people braid in a ponytail. For extra measure, I braided a strand down and put beads on end. I call it My Alicia Keys Braid. LOL.

STEP FOUR: I braided the other side from the part at the top to the part to the back around her head. After I was done braiding, I took an ouchless band and wrapped her hair in a ponytail so I could apply the bun.

STEP FIVE: Applying the bun. I pulled her hair through the hole of the sock bun and evenly spread her hair out over the sock. Next, I wrapped the hair under the sock bun in a circle, twisted the loose end, and continued to wrap it in a circular motion and then secured it with a bobby pin and another ouchless band. THE END!!

Even though it was almost 1130pm when I got finished with Princess's hair, she still looked like she was ready to step out into the night and shut everything down!!
Monday, November 1, 2010

Braided Side Ponytail

I attempted at this hairstyle sometime in September and was in complete surprise at how well it turned out. I'm no good with 'designs' and especially with braiding to the side! I was completely influenced by a hairstyle I saw on Beads, Braids, & Beyond! I absolutely fell in love with it and had to try it. I'm not going to go into details about how I achieved this look because...I CAN'T REMEMBER! Lmao. I'm sure I'd failed if I tried again. Ugh, I need to quit beating myself up. ANYHOO, on to the photos!

Saturday, October 16, 2010

Beads Braids & Buns

I did my daughter's hair in this style about three weeks ago. Beads, braids, and a bun! I'm not gonna get into specifics about how I did it, but I put a braid in the front and a bun at the top. I put 20 beads on each braids.

In the back, I made two separate rows and individually put the ponytails in rubberbands then braided two braids per ponytail. At the top of the rows, I braided two braids, one going in each direction and put beads on the end of them. And to top it off, I put a nice flower bow around the bun. That's basically it! I used Just For Me! Soft & Beautiful 2-N-1 Conditioning Detangler and B&B Pink Oil Moisturizer.


Wednesday, October 13, 2010

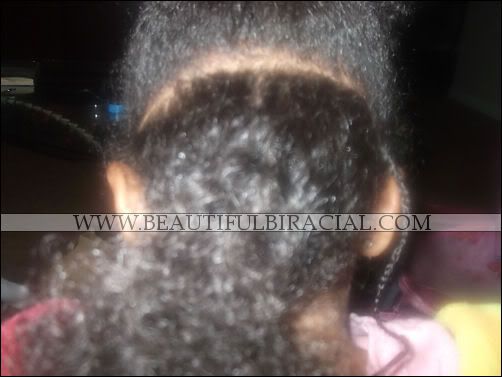
Curly Mohawk For Kids!

When my daughter was two years old, she had a massive amount of black and brown curls on top of her head and I just didn't know what to do with it! I mean, she's my only daughter and I never really had much experience with braiding and styling children's hair. One day I just decided to try braiding and doing her hair in a mohawk simutaneously! I can't believe it came out so well, especially being my first time!


  1. First I parted her hair in half from ear to ear to get it as straight as I possibly could. As I stated in one entry, I can't part straight for the life of me..I also can't park, lol. /random
  2. I put the top half in a ponytail, then parted the back down the middle to the nape of her neck. I then proceeded to braid one side to the side going to the right until I stopped in the middle and braided the other side to the left until I got to the middle. Every two braids that met up in the middle, I wrapped them in a rubberband*.
  3. The top part, I braided four braids on each side and the middle part just did one big twist and pulled it back in a ponytail to meet the back braids. I did the twist because I got lazy, I recommend you do something else, but to each it's own.
  4. After all hair was wrapped in a ponytail, I took a rattail comb and poofed it out a bit...and there you have it! A curly mohawk! I didn't have to do much to curl her hair being that her hair is naturally curly, but if your child does not have the same texture, then feel free to find some way to curl!
*Rubberbands. I highly recommend you not use rubberbands in children's hair because it takes their hair out, maybe like small cotton like bands to tie around. I used rubberbands because like I said, back then, I wasn't experienced in doing children's hair. I mean, I'm no hairstylist NOW, but you know, some things are more common sense. =)

Related Posts With Thumbnails