Showing posts with label princess. Show all posts

Saturday, November 13, 2010

Ponytail Connectors With Three Strand Twists

I know, I know, I am getting out of hand with using three strand twists in hairstyles, but I can't help it! I do them so well! I mentioned on Facebook last night that I was going to do a video on extreme three strand twisting. I'm sure you're probably wondering what in the heck is that, but it's where I tst REALLY FAST! I'll probably have that video posted next week!

Anyhoo, I'm sure you're wondering about this Ponytail Connector style that I have brought upon to you today. It's where I put an array of ponytails in her head, and connected them to four ponytails. This style took about an hour & a half to do..due to me not knowing what direction I wanted to go in at first. I used my normal products: water, HEHH conditioning detangler, BB Oil Moisturizer, & Kids Organics Gro Strong...

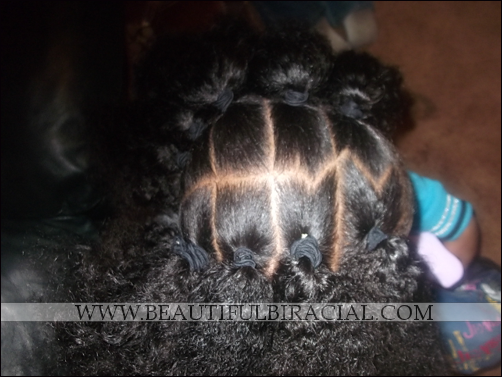
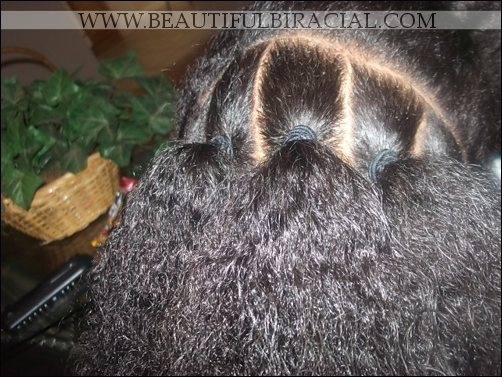
This is the left side of her hair with about 6 ponytails going down her head in a row. I used Belle's Ouchless Bands to wrap around her hair.

After adding all the ponytails, which came out to twelve, this is how it looked. You guys see my random zig zag in the front? I was supposed to have the whole line from front to back going in zig zags, but PARTING IS A CHALLENGE FOR ME! Parting actually takes up most of my time during styling because it takes so long to get it right! :(

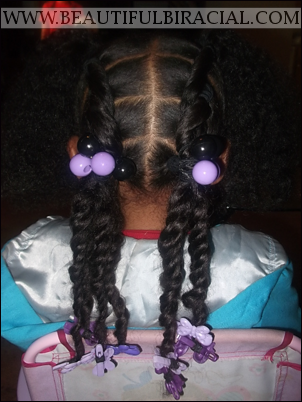
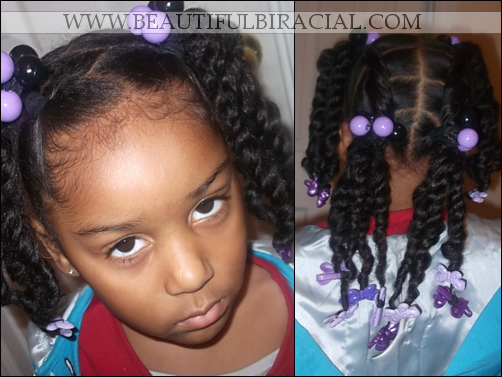
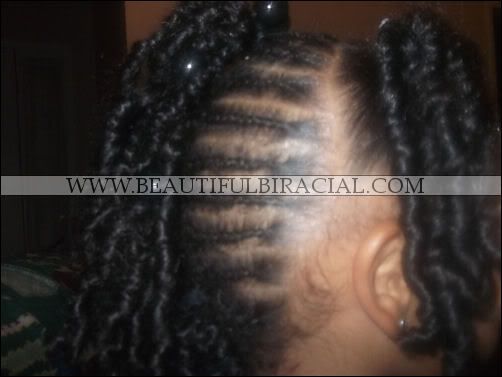
I separated the four front ponytails and put them into two bigger ponytails (one on each side) then wrapped the hair into each other going down until it got to the last ponytail. I wrapped another ouchless band around them and put two hair ballies on the ponytail. Each ponytail in the back has four three strand twists!

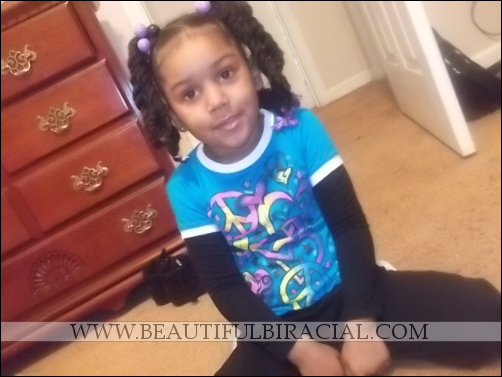
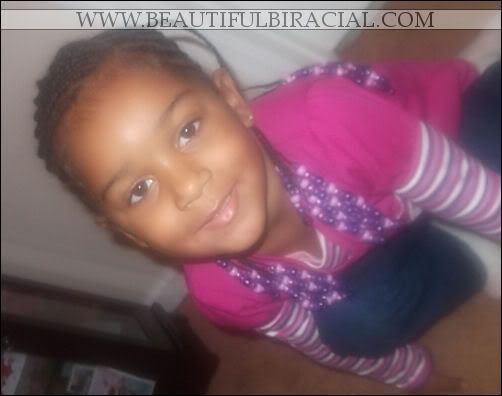
Don't mind that sourpuss look on Princess's face. She was sour because she had to stop playing her game to take a picture, lol, but I digress. The two front ponytails were done just like the back. Two hair ballies wrapped around them with four three strand twists each!

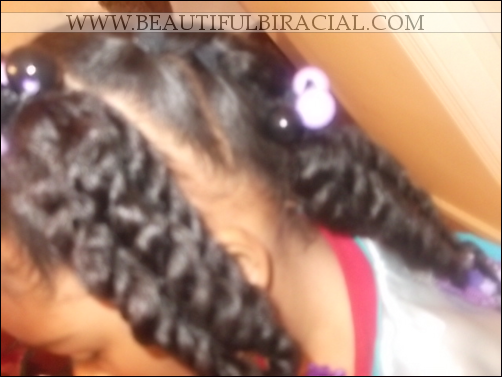
Here's a sideview. You can see where the ponytails are connected and how it's going into one big twist!

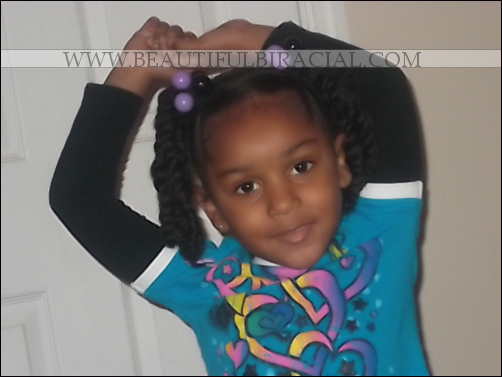
I've been getting a lot of questions to which I will be posting along with the answers in the ASK ME section of the site. Since I've been of assistance to them, I hope I could be of some assistance to you!! Moving along, as I usually do, Princess had a teeny tiny amatuer photoshoot with her new hairstyle! Check it out!

CLICK ON PHOTOS TO ENLARGE


Thursday, November 11, 2010

Slanted Tails: A Ponytail Hair Ballie Story

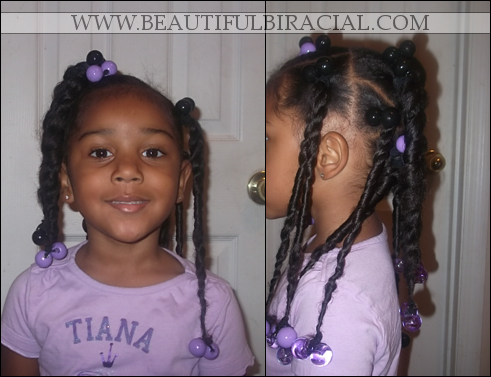
Ahaha, yall like that title? Anyways, yes, we have a new hairstyle!! I decided to put ponytails in her hair because braiding today was not an option. I just didn't feel like it. Here's her new hairstyle. Slanted ponytails.


This hairstyle took about 45 minutes. I used Herbal Essences Hello Hydration Conditioner, Soft & Beautiful Just For Me! 2-In-1 Conditioning Detangler, BB Oil Moisturizer and water. As you see, I used hair ballies even on the ends of her hair. I honestly didn't feel like searching her barrette bin looking for purple, lol.

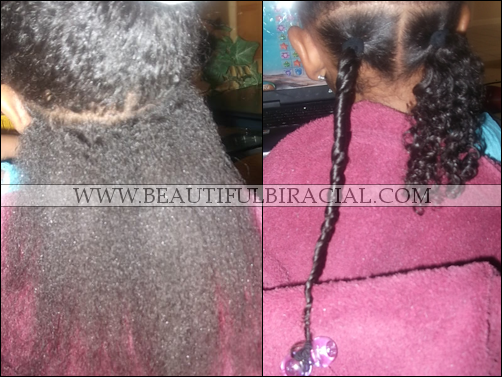
I parted the back, sprayed water and the conditioning detangler and combed through it. As you can see in the pictures, the product makes an IMMENSE difference in how shiny her hair is. I hadn't even used anything else besides water and the detangler and the shine went from 1 to 100. Like I said earlier, I used hair ballies on the end because it stretches the hair. I took the picture so you can see the difference. If I put a barrette on the end, it would've curled right back up and the length would've been shorter.


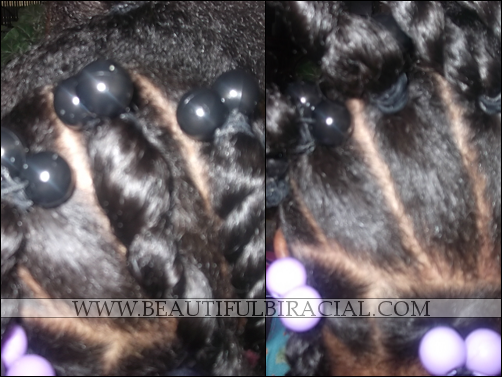
With the middle portion of her head, I slanted her ponytails. The left side is how it looks from one point of view and the right side is from the other point. When you lift the ponytails up, you can actually tell it's slanted, lol.


Btw, those are two strand twists. Anyways, tomorrow is a special day for BeautifulBiracial.Com. You'll have to tune in to see what it is!!

Saturday, November 6, 2010

Beads, Braids, & Bun 2

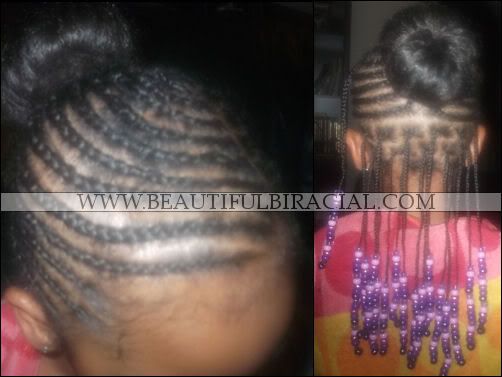
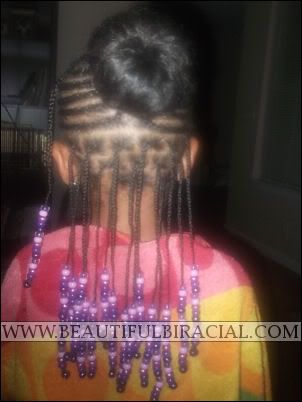
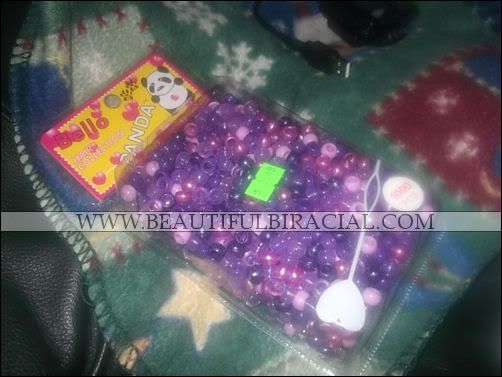
This is my daughter's newest hairstyle! Beads, braids, and a bun!!!. I did an almost similar hairstyle before (click here), but this time I decided to do things a little differently and have her whole head braided. This hairstyle took a whopping total of 5 1/2 hours to do! Don't forget, we do have to consider the length of her hair. We went to the hairstore earlier yesterday and she picked out these different shades of purple beads! One thousands beads for $3.49! Not bad, right?

I used water, BB Oil Moisturizer (for shine), Kids Organic Gro Strong Triple Action Stimulating Therapy (to reduce frizziness), Herbal Essences Hello Hydration conditioner (for softness), and Soft & Beautiful Just For Me! 2-in-1 Conditioning Detangler (to help detangle, of course). As always, I pour BB Oil Moisturizer and HEHH Conditioner on a napkin and mix it together.

STEP ONE: I parted the back from ear to ear. I detangled it and combed through it! Don't mind that spare braid, I had another hairstyle in mind before I got to the end results.

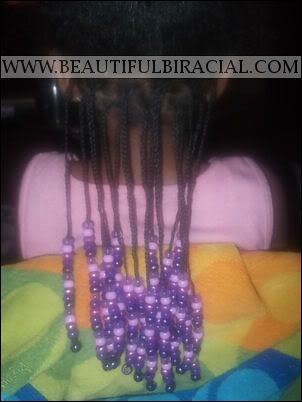
STEP TWO: I parted three rows and individually braided her hair in strands. I then applied the multicolored purple beads, putting 15 on each braid strand. The end result of that looked like this!

STEP THREE: I made a small part at the top of her head and a short part at the back of her head so I can have a start and stopping point. This was my first time doing this, so I wasn't really sure how people braid in a ponytail. For extra measure, I braided a strand down and put beads on end. I call it My Alicia Keys Braid. LOL.

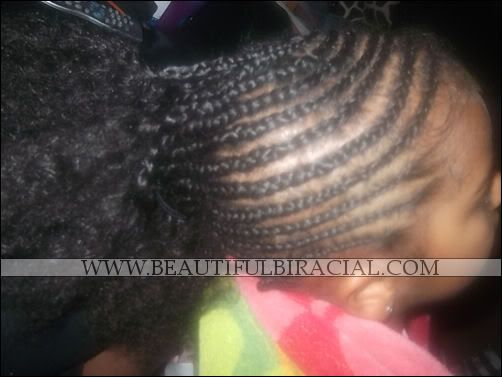
STEP FOUR: I braided the other side from the part at the top to the part to the back around her head. After I was done braiding, I took an ouchless band and wrapped her hair in a ponytail so I could apply the bun.

STEP FIVE: Applying the bun. I pulled her hair through the hole of the sock bun and evenly spread her hair out over the sock. Next, I wrapped the hair under the sock bun in a circle, twisted the loose end, and continued to wrap it in a circular motion and then secured it with a bobby pin and another ouchless band. THE END!!

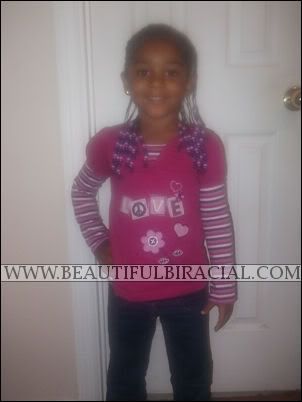
Even though it was almost 1130pm when I got finished with Princess's hair, she still looked like she was ready to step out into the night and shut everything down!!


Wednesday, November 3, 2010

Switching It Up: Pigtails & A Mohawk

Last night, I took out her loose three strand twists and braids and replaced them with two pigtails and three strand twists! She went to school this morning looking very pretty if I do say so myself! Check out the photos!


Monday, November 1, 2010

Braided Side Ponytail

I attempted at this hairstyle sometime in September and was in complete surprise at how well it turned out. I'm no good with 'designs' and especially with braiding to the side! I was completely influenced by a hairstyle I saw on Beads, Braids, & Beyond! I absolutely fell in love with it and had to try it. I'm not going to go into details about how I achieved this look because...I CAN'T REMEMBER! Lmao. I'm sure I'd failed if I tried again. Ugh, I need to quit beating myself up. ANYHOO, on to the photos!

Sunday, October 31, 2010

Princess On Halloween!

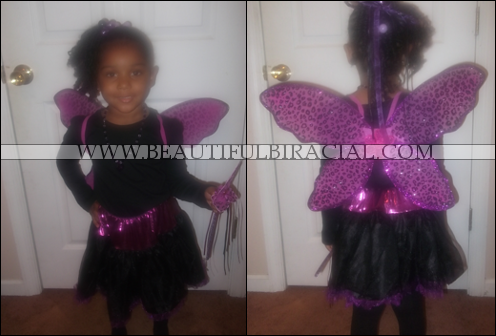
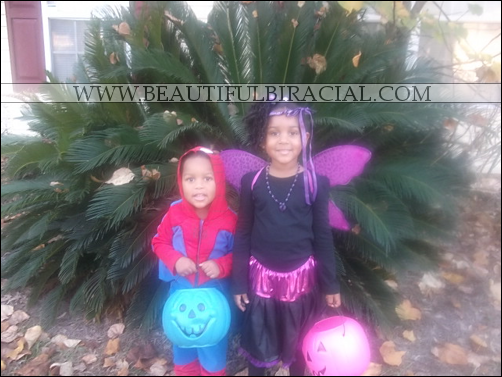
Princess and her little brother, Spiderman, had a great time trick-or-treating tonight! We only stayed out for one hour and got a bucket full of candy! That goes to show it's not how long you stay out, BUT which neighborhood you hit up, lol. Anyhoo, here is Princess in her Halloween costume, a Princess Fairy!


2010 School Photo

My baby took her school photos in August and we just got them back this past Thursday! I love the photo, but her hair, JEEZ! I straightened it out and candy curled it thinking that they were going to take photos first thing that morning, but they waited until AFTER lunch, so her hair poofed up and frizzed out, lol! Crazy!

Saturday, October 30, 2010

The 'Princess Fairy' Halloween Hairystyle!

This morning, the Princess and I were up bright and early to get her Halloween Hairstyle on the road! I took out the remainder of her braids (which was like 3 braids), then washed her hair with Herbal Essences Hello Hydration Shampoo and Conditioner! After towel drying it, I parted it in sections and sprayed each with Soft & Beautiful Just For Me! 2-In-1 Conditioning Detangler! Via photos, I'll explain how I did her hair!

HAIRSTYLE NAME: Three Twists Strand Mohawk W/ Side TST Ponytails
TOTAL STYLING TIME: 3 Hours
PRODUCTS USED: Herbal Essences Hello Hydration Shampoo & Conditioner, BB Oil Moisturizer, Kids Organics Gro Strong Growth Stimulating Therapy, & Soft & Beautiful Just For Me! 2-In-1 Conditioning Detangler

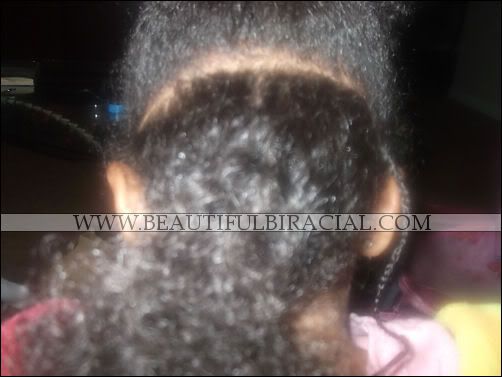
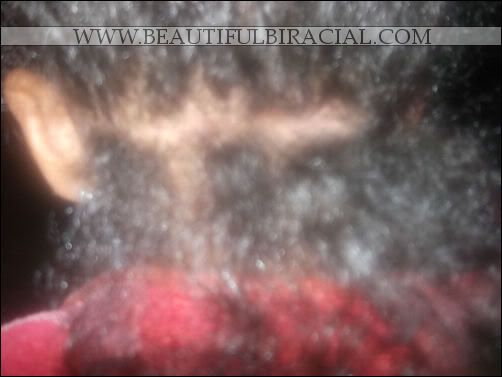
I started off by parting the hair two ways, which I call a T, and wrapped each section in bands. I got my products and poured a little of HEHH Conditioner and BB Oil Moisturizer on a napkin and mixed it together. I used the conditioner so her hair could feel lightweight and I used the moisturizer so it can have shine!

I began unbanding the right ponytail and braiding the braids going to the left and stopping at the middle. I then unbanded the left ponytail and matched the parts braiding those braids going to the right and stopping at the middle. To possibly save time, after I braided each braid, I put them in a three strand twist. I put the products on the braid before braiding them and after twisting, I put a little of the Kids Organics Gro Strong Stimulating Therapy on the strand to reduce frizziness.

This is the back view of the mohawk with three strand twists. The back by itself took at least an hour and a half. Now for your child it might not take that long, because as I've said in other posts, you have to consider the LENGTH of my child's hair!

As far as the front, I part the top section and half and did one half in loose three strand twists and the other half braided to the side!

This was the end result! I honestly don't like the front so probably tomorrow I will braided it into a side ponytail. I LOVE the back though!!

PRINCESS FAIRY PREVIEW (FRONT)
PRINCESS FAIRY PREVIEW (BACK)

Friday, October 29, 2010

Fall Festival 2010

Today was the Fall Festival and DRUG FREE WEEK at my daughter's school, reason for all the activities. At the FF, they had all kinds of activities going on outside in the school yard! I went and took tons of pictures like a proud mother and helped my daughter and her two best friends with all the fun! They shaved pumpkins, got tattoos, played toss with the little bean bags, went fishing, went on hayrides, 'spray painted,' went through a maze, and even had a sack race! The best part I liked was even though some things were a competition, they all got prizes and still were winners! What a way to boost children's self-esteem! Here are some photos from the FF!

Shaving pumpkins.
Pumpkin Tattoo.
Spray painting!
Gone fishing!
Sack Race!
Digging for 'gold'!
All that aside, this weekend is going to be a very busy weekend as far as hair & Halloween are concerned! As you see, I have to remove her braids, wash, detangle, and style it! I have a hairstyle in MIND, HOPEFULLY I can execute it! For Halloween, she's going to be a Princess Fairy! I can't wait for the free candy!

Wednesday, October 27, 2010

Hat Day!

Today is Hat Day at my daughter's school & I had to figure out a way QUICK to find a way to do her hair so she could wear her hat to school. I decided to just braid it in two layer braids! The back is going straight down and the front part has a slant to it. Excuse the 'messiness' of it...it was really my first time doing slants and as we ALL KNOW, I can't part for nothing! Here are the photos!

2 Layered Braids
 I think for my first time I did a pretty good job, but since I was in a rush and Ms. Thang kept falling asleep, that was the result. It's all good because it is HAT DAY and no one will see it, lol. This morning, she wanted it to 'hang', so I thinking about putting it in a ponytail and taking the ends loose, but I really didn't have time for that, so I settled for putting white barrettes on the end which seemed to do the trick.


Monday, October 25, 2010

A Collection of Hairstyles From Ages 0-3

Last night, I was looking through some old photos of my kids and saw the many hairstyles that I used to do to my daughter's hair back when it was shorter. I can understand that a lot of my viewers might like and can do some of my recent hairstyles, but I know that your daughters hair might not be the same length (yet). Well, the photos below may help you with some ideas on how to style your daughter's hair if it's not long. Enjoy!

The hairstyle here was more of a natural thing. I had no idea on how to style her hair but I just let her wear it out because as you see her hair is FINE but not lengthy enough to do anything with.

In this photo, I simply parted her hair from ear to ear and then banded three ponytails in the front for a quick on the run do.

In this photo, she was going to take pictures and I didn't know how to do her hair, so I took the matching headband that came with her dress and put it in her hair and voila! There you have it.

Sorry the picture is a little blurry, but this has always been one of my fave photos for some reason. For her hair, I took some of it in the front and brushed it to the side and took a pretty little clip and pinned it down and let the rest of her hair hang freely.

On her second birthday, I let her sport the curly pigtails and her crown! You know I had to work around that crown.

Her hair on the left side is what I had to deal with every morning before I came into the fine world of braiding. On the right side, I parted her hair from ear to ear, then parted the back in four sections. Put all five in ponytails and braided individual braids and put beads on them.

She's sporting two curly pigtails in front and a 'poof' in the back. I loved this hairstyle back before her hair got longer and started getting tangled more.

Like the previous photo, she's sporting the poof in the back but this time her pigtails are in two strand twists.

As her hair started to get longer, I edge away from the ponytails and gave her three ponytails in the front, kept her poof in the middle and put two ponytails in the back. I never realized how much I started doing her hair like that until I looked at all the old pictures, lol.

And last but not least, she's sporting front to back cornrows with beads on the end!

I hope this post helped a little in styling your little one's hair! I wish I knew about sites like mine back then, because her hair would probably be a LOT different lol.
Related Posts With Thumbnails