Showing posts with label hair. Show all posts

Saturday, November 6, 2010

Beads, Braids, & Bun 2

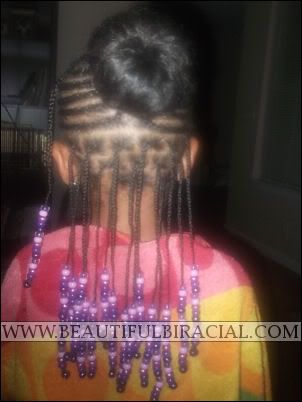
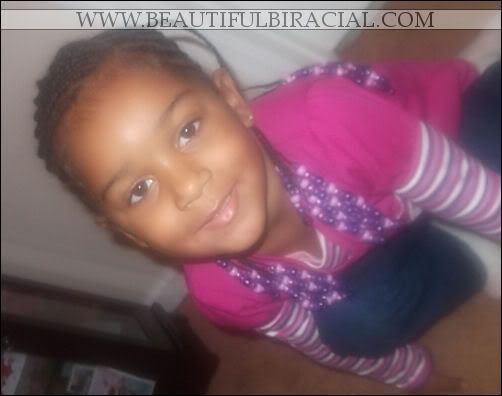
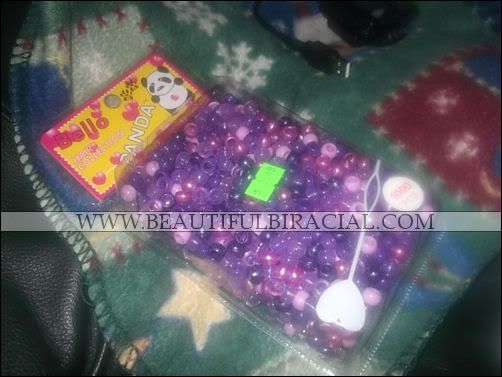
This is my daughter's newest hairstyle! Beads, braids, and a bun!!!. I did an almost similar hairstyle before (click here), but this time I decided to do things a little differently and have her whole head braided. This hairstyle took a whopping total of 5 1/2 hours to do! Don't forget, we do have to consider the length of her hair. We went to the hairstore earlier yesterday and she picked out these different shades of purple beads! One thousands beads for $3.49! Not bad, right?

I used water, BB Oil Moisturizer (for shine), Kids Organic Gro Strong Triple Action Stimulating Therapy (to reduce frizziness), Herbal Essences Hello Hydration conditioner (for softness), and Soft & Beautiful Just For Me! 2-in-1 Conditioning Detangler (to help detangle, of course). As always, I pour BB Oil Moisturizer and HEHH Conditioner on a napkin and mix it together.

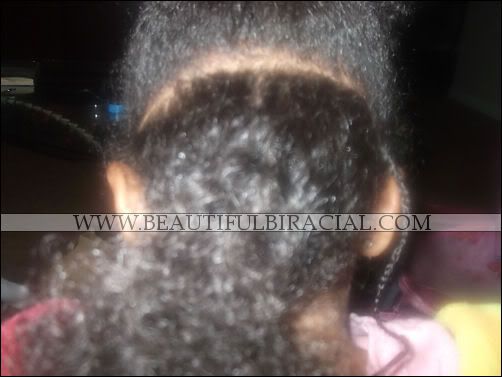
STEP ONE: I parted the back from ear to ear. I detangled it and combed through it! Don't mind that spare braid, I had another hairstyle in mind before I got to the end results.

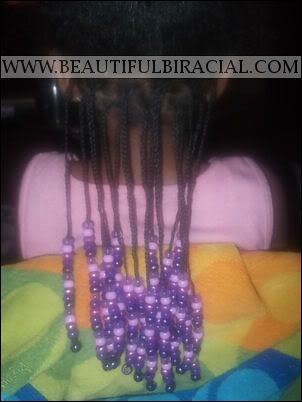
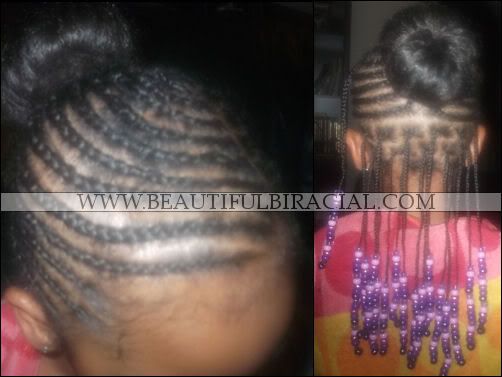
STEP TWO: I parted three rows and individually braided her hair in strands. I then applied the multicolored purple beads, putting 15 on each braid strand. The end result of that looked like this!

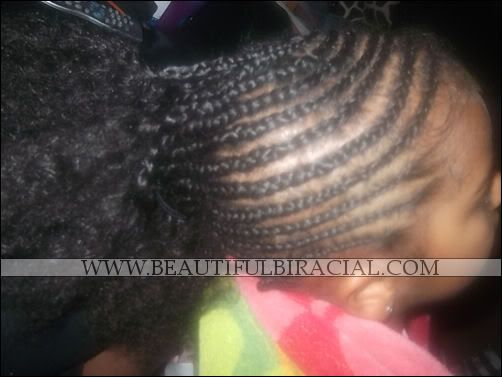
STEP THREE: I made a small part at the top of her head and a short part at the back of her head so I can have a start and stopping point. This was my first time doing this, so I wasn't really sure how people braid in a ponytail. For extra measure, I braided a strand down and put beads on end. I call it My Alicia Keys Braid. LOL.

STEP FOUR: I braided the other side from the part at the top to the part to the back around her head. After I was done braiding, I took an ouchless band and wrapped her hair in a ponytail so I could apply the bun.

STEP FIVE: Applying the bun. I pulled her hair through the hole of the sock bun and evenly spread her hair out over the sock. Next, I wrapped the hair under the sock bun in a circle, twisted the loose end, and continued to wrap it in a circular motion and then secured it with a bobby pin and another ouchless band. THE END!!

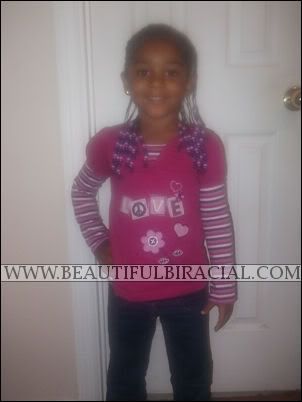
Even though it was almost 1130pm when I got finished with Princess's hair, she still looked like she was ready to step out into the night and shut everything down!!
Sunday, October 31, 2010

The Beautiful Biracial Hair Quilt

We are proud to present our very first BEAUTIFUL BIRACIAL HAIR QUILT! I know your probably have no idea what it is, but it's a collage of all the hairstyles seen here on BEAUTIFULBIRACIAL.COM. The only way your child's photo will appear here is if she or he has been featured on this site in some kind of way, whether it's guest blogger, birthdays, or whatever! Check out our hair quilt below!


Thursday, October 21, 2010

Triangular Ponytails!

My daughter's play was today and I took out her loose two strand twists so they could hang, but they didn't come out like would've liked them so I had to resort to plan B..PONYTAILS!! I remembered going through a friend's photos of her daughter on Facebook & looking at her hairstyles and one that I fell in love with was the ponytails in triangles. The difference between mine and hers were that her ponytails were braided with beads on the end and mine are three strand twists. Here's photos and a video on how I parted her hair to get the ponytails.


Below is the video showing you guys how I parted her hair to get the triangles. This was my first time doing it and I think I did a good job, so hopefully it'll be easy for you too!

Tricks, Tips, and Treats (POST-HALLOWEEN!)

Sooo Halloween is approaching in ten days and I have no idea what my daughter is going to be and how I am going to do her hair. I figure when I get the costume, maybe I can work around that like I did last year. Last year, she wanted to be a Disney Princess, Cinderella to be exact and who am I to not make that happen for her?

She wanted Cinderella shoes, Cinderella's ball gown, Cinderella's jewelry (crown), and on top of that, Cinderella's HAIRSTYLE! Back then, I wasn't as 'interested' in fixing her hair up like I am now and being that I had no direction, I didn't wanna do anything to mess her hair up so I took her to the salon. Here's photos of the process it took for me to get her hair straightened.


Next, I took her home and tried to mimic Cinderella's hairstyle as much as possible, yet try to keep it childlike and simple. I mean, really, who wants their child wearing grown up hairstyles? I don't! I decided to do the bun, but also have some of her hair hanging down in the back and style it in candy curls. I also left a piece of hair down in the front to curl it as well. I really had to work around that dagnamit crown! She wanted to go take pictures, so I let her put on her costume early to do so!


Later, we went Trick-Or-Treating and she had a blast. Everyone was complimenting her on her outfit and style. People even went far as to say she was the BEST looking Cinderella they've seen that day. That made me smile because..you know...I don't like to brag, but uhm...*takes bow*. I truly felt like all the stressing I did that day paid off.


In ten days, I'll be going through this yet again, but you know what, to see the smile on your child's face makes all of it worth it!

Wednesday, October 20, 2010

Loose Two Strand Twists

Last night, I took it upon myself to change Princess's hair for school today. She will be in a play tomorrow and wanted to wear her hair down. So I put two strand twists in her hair. Before the play, I will take them out so her hair can be nice and curly! Here's photos of the results of loose two strand twists.

HOW I ACHIEVED THIS LOOK
TOTAL STYLING TIME: 3 hours (Given the length of her hair of course)

PRODUCTS USED: Water, Just For Me! Soft & Beautiful 2-n-1 Condtioning Detangler, Herbal Esscences Hello Hydration Conditioner, & Kids Organics Gro Strong Triple Action Growth Stimulating Therapy

  1. Since I had no time to wash her hair, I simply sprayed water and Just For Me! Soft & Beautiful 2-n-1 Conditioning Detangler all over her hair to give it that wet look and combed through it, detangling it.
  2. I parted her hair from ear to ear and separated the top section from the back section.
  3. I then used the end of a rattail comb to part the rows, but used my fingers to separate the sections of the strands.
  4. While wet, I applied a generous amount of Herbal Esscences Hello Hydration Conditioner as moisturizer & generous amount of Kids Organics Gro Strong Triple Action Growth Stimulating Therapy to reduce frizziness to each strand before twisting it.
  5. I did her twists small so she could have nice tight curls tomorrow.
  6. I did step four throughout her whole head and the pictures up top were the end results!
I think using these products & elements together was good, because when she woke up this morning her hair was still fresh and not dried out. I didn't have to do much to it. This was my first time using the HEHH product. I've seen it used and mention numerous times on Mixed Roots and on Beads, Braids, & Beyond, so I definitely had to try it. I'm not going to speak much on how it was because I plan posting a review of the product in the very near future!


Monday, October 18, 2010

Half Cornrows & Three Strand Twists Out

I took Princess's three strand twists out this morning and this was the turn out!

Hair, Crafts & More!

'Princess' and I had a good weekend! I did spend a good bit of my time working on this website, but I managed to do other things as well! Friday, after I picked my daughter up from school we put together her Disney Princesses puzzle! Friday night, I did her hair! Saturday, her and her brother took pictures!

Disney Princesses Puzzle

Half Cornrows With Three Strand Twists (Back)
Princess & Spiderman

Sunday, she asked if we could make matching friendship bracelets for her and her two best friends at school that she's ALWAYS talking about and I said yes. Unfortunately, we never got to make them before she went to sleep. I was about to go to bed before I remembered about them and got back up and did them! When she woke up, I surprised her with them and she was ESTATIC. She took them to school and gave them to her friends and they loved it. The fact that she's happy makes me happy!


How was your weekend?!

Saturday, October 16, 2010

Beads Braids & Buns

I did my daughter's hair in this style about three weeks ago. Beads, braids, and a bun! I'm not gonna get into specifics about how I did it, but I put a braid in the front and a bun at the top. I put 20 beads on each braids.

In the back, I made two separate rows and individually put the ponytails in rubberbands then braided two braids per ponytail. At the top of the rows, I braided two braids, one going in each direction and put beads on the end of them. And to top it off, I put a nice flower bow around the bun. That's basically it! I used Just For Me! Soft & Beautiful 2-N-1 Conditioning Detangler and B&B Pink Oil Moisturizer.


Half Cornrows & Three Strand Twists (Back)

This hairstyle, Half Cornrows & Three Strand Twists (Back), was heavily inspired by Beads, Braids, & Beyond. Monday morning, I'll be taking out the three strand twists so they can hang, so for the weekend, it's like this! I've always wanted to try this hairstyle because Ms. Nikki styled it so beautifully in her daughter's hair!

HOW I ACHIEVED THIS LOOK
  1. First I parted her hair from ear to ear to separate the part that I was going to braid from the part that I was going to twist.
  2. I started off by using the end of a rat tail comb to part her hair and doing the individual three strand twists. By the time I got half way done, I stopped using the comb and started parting with my fingers (lazy, lol).
  3. Since I had not washed her hair before starting this hairstyle, with each twist, I sprayed Just For Me! Soft & Beautiful  2-n-1 Conditioning Detangler and applied a small amount of Kids Organic Gro Strong Triple Action to give it shine and reduce frizziness.
  4. After three strand twisting her hair, I began cornrowing the top. I braided each braid half way down and three strand twisted the rest.
  5. To keep three strand twists from unraveling, I braided the ends on each strand!
  6. When finished, I sprayed Luster's Pink Sheen Spray to give it a little more shine!

Thursday, October 14, 2010

Curly To Straight Preview


Would you like to know how 'Princess's' hair went from curly to straight in less than three hours? Tune in tomorrow!

Related Posts With Thumbnails